This article might seem strange, but knowing these little things can make your robotics project easier.
As making robots have become a part of my university life, I love to design different kinds of robots for local robotics competitions in undergraduate level. Designing a robot can be narrowed down to several steps as follows from my experience,
- Hardware design stage
- Breadboard testing stage
- PCB designing stage
- Assembly stage
- Programming stage
These stages will mostly overlap between each other and needs to be done parellel in order to succefully finish the project. Most of the people miss the "Breadboard testing stage" and directly make the PCB which creates lots of problems like asigning sesors to incompatable pins, wiring issues, wrong selection of components and ect.
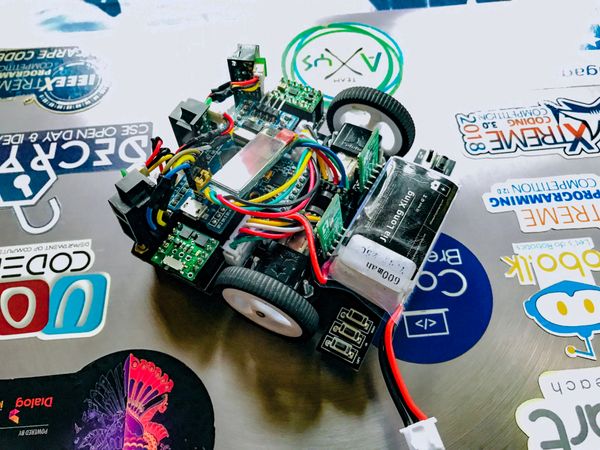
This article is about my experience of making a micromouse robot using STMF103C6 "bluepill" board and how properly testing before the final designed helped to build the robot without errors.
This is the second time I'm making a micrmouse and first time I used an Arduino Nano board to make the robot. The speed of the arduino boards are slow to quickly react to gyro values to accurately navigate and turn in the maze.
New to STM?
As I was new to STM boards I didn't know the correct pins to connect the sensors and to programme it. Therfore before designing a pcb I thought to test everything out using a breadboard.
Following video contains some footage of the breadboard testing stage.
Why should you do it? 💁🏻♂️
I have come across situations where that I search through the internet and route the PCB, after testing I findout the pins were assigned wrong. In these situations I have to go through imense work to rewire the pcb externaly.
By testing everything in a breadboard helped me to overcome this problem to find out the necessary pins to connect my sensors.
